Better Beta – Gear and Cleaning Tips
Cleaning Your Cams With An Ultrasonic Cleaner
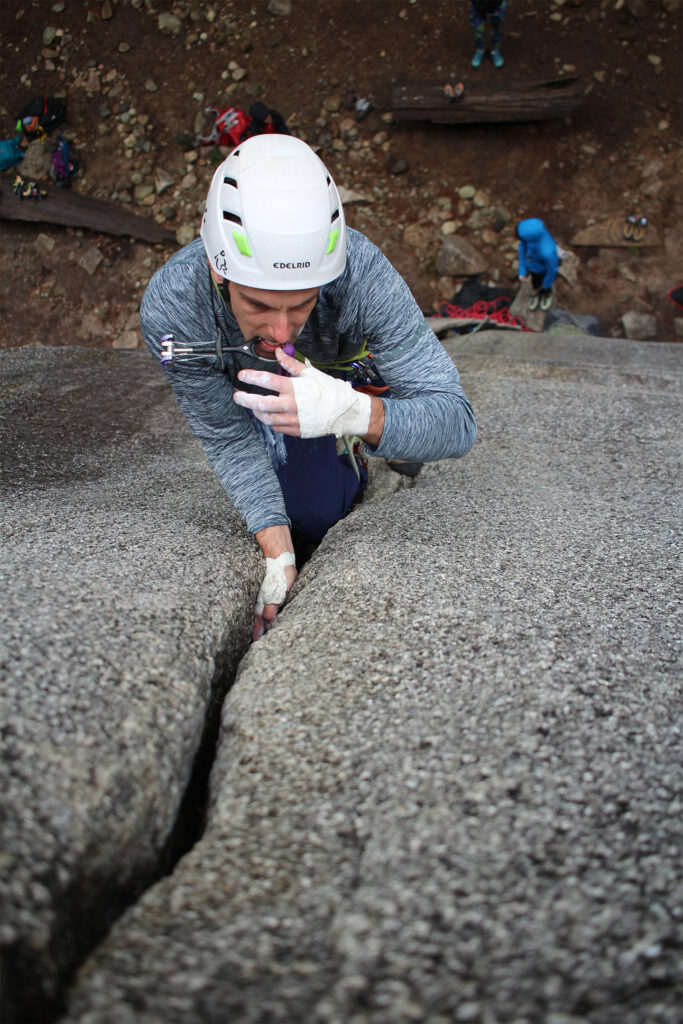
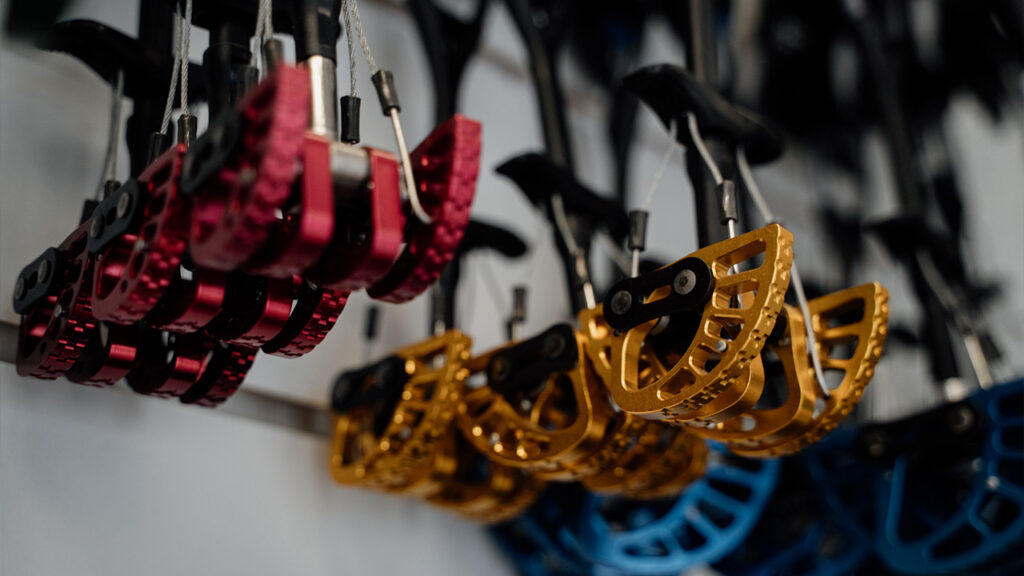
Your trusty camming devices deserve more than just a rinse after a dusty season or a gritty fall.
Cam Spa Day
Dirt, sand, and aluminum oxide can gunk up springs, lobes, and axles, compromising both performance and lifespan. While manual cleaning with brushes and warm water is fine for surface-level maintenance, an ultrasonic cleaner can take things to the next level, offering a deep, thorough clean that gets into all the tiny nooks you can’t reach.
Insights & Tips
Choosing the Right Ultrasonic Cleaner
Size: Choose a tank enough to fit your biggest cams without crowding. Smaller is generally cheaper, just make sure you can get your biggest cams into it.
Frequency: Most cleaners run at 40 kHz, which is effective and gentle enough for climbing gear.
Timer: Look for models with adjustable timers so you can control cleaning duration.
Budget: Prices vary from $50 for smaller units to $200+ for professional-grade models.
Other Gear You Can Clean Ultrasonically
While cams are perfect candidates for ultrasonic cleaning, this technique works well on other climbing equipment:
- Carabiners
- Belay Devices
- Nuts
- Hexes
- Ascenders
Note: We don’t recommend cleaning sewn slings, harnesses, or ropes ultrasonically.

Video Tutorial
Follow our quick video or step-by-step guide below on how to clean your cams using an ultrasonic cleaner.
Step-by-Step Guide
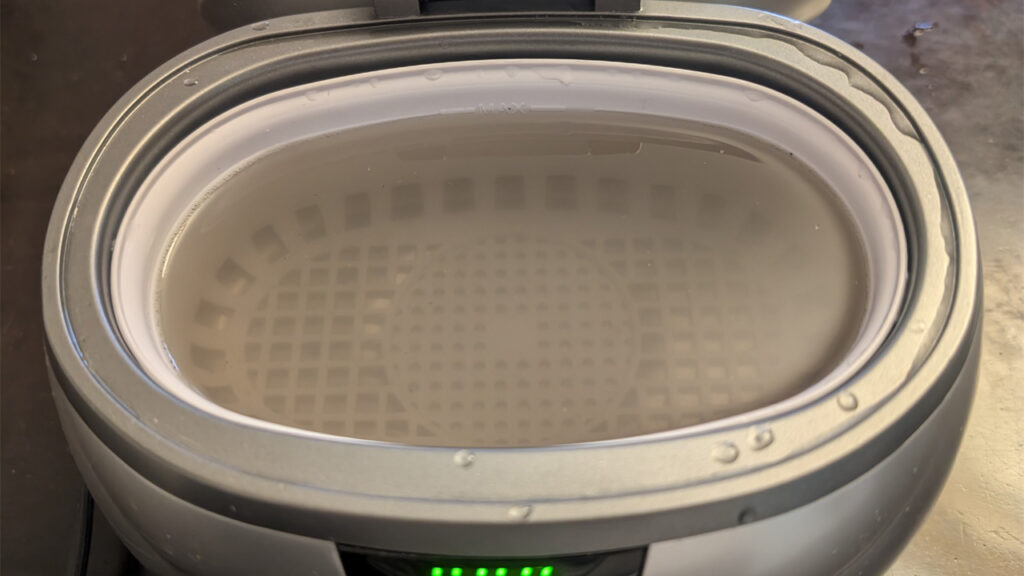
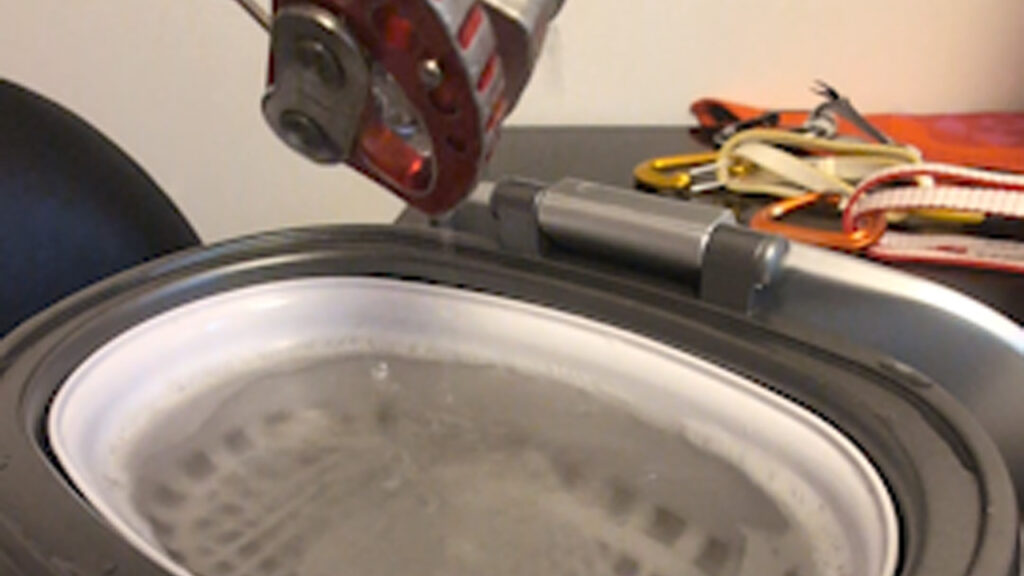
Step 1: Fill The Tank With Water
Turn on your ultrasonic cleaner and fill your tank with warm water. NOT hot.

Step 2: Add Mild Soap
Add a small amount of mild soap or gear-safe degreaser. Gently mix it.

Step 3: Check/Prep Cams
Use a soft brush to remove excess debris off cams. Check for any damage.
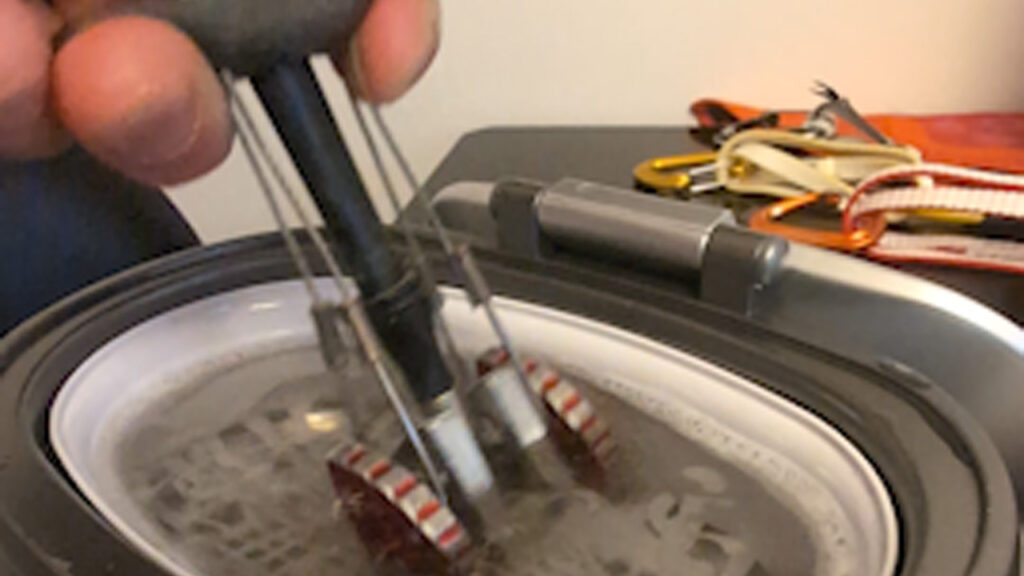
Step 4: Submerge Cams
Submerge. Fully extend the cam lobes, working springs and moving parts.
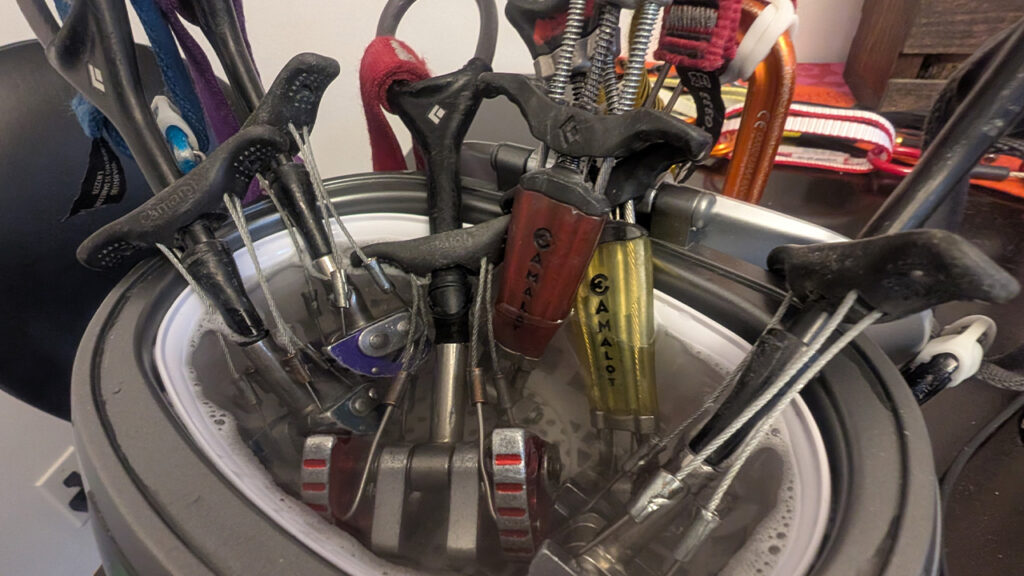
Step 5: Run Ultrasonic Cycle
Run a 3–5 min cycle, do not exceed time. Periodically actuate the cams.
Step 6: Rinse
Remove, rinse, then rinse again.
Step 7: Dry
Then use a towel and/or compressed air to dry cams thoroughly. Put them in a place where they’ll get lots of airflow. Hang them if possible.
Step 8: Lubrication
🧴 Steps to Lubricate:
Less is more. You want moving parts lubricated, but nothing else. DO NOT allow any lubricant to get anywhere near the lobe surfaces. Lobe surface friction is the only thing keeping you off the deck when you fall on a cam.
Apply lube sparingly to:
- Axles (around which the lobes rotate)
- Spring pivot points
- Trigger wires and moving parts
Work the cam
Open and close the lobes several times to spread the lube evenly.
Don’t have excess to wipe off.
Most cam lubing instructions say to use a clean rag or paper towel to remove extra lubricant. We say if you have extra, you’ve already gone wrong. Do not allow lubricant to drip on the lobe surfaces, and do not smear/wipe it if you do; clean the lobes again and re-lube.
✅ What to Use:
Recommended:
Avoid:
- KY jelly. Climbing has enough innuendos.
- WD-40 (good as a water displacer, but it’s messy and creeps — it could make its way onto lobe surfaces)
- Greases or oils that attract dirt/dust (e.g., motor oil, standard grease)
Enjoying The Trad Life
(with CLEAN cams)